CareBook User Guide
Welcome to CareBook! Your classroom, organized.
Designed with daycare teachers in mind, CareBook simplifies daily roster management and parent communication so you can focus on what matters the most - caring for children.
ℹ️ Notes about daycare teachers:
- We assume that the daycare teachers managing daily rosters of 30 to 40 children
- We assume that the daycare teachers using this product are tech-savvy and fast typers
With CareBook, you can:
- Instantly access students’ information
- Streamline daily attendance tracking with simple commands
- Easily maintain student records for smooth communication
This user guide will walk you through:
- Setting up your CareBook application
- Navigating the Graphical User Interface (GUI) and Command Line Interface (CLI)
- Learning essential commands to help you manage contacts and attendance
By the end of this guide, you’ll be a CareBook pro, managing your daycare with ease and precision.
Table of Contents
- Quick start
- Features
- Adding a student:
add - Clearing CareBook:
clear - Deleting a student:
delete - Editing a student:
edit - Exiting the program:
exit - Exporting attendance summary:
export - Finding a student’s contact:
find - Viewing help:
help - Listing all students:
list - Marking a student’s attendance:
mark - Marking all students’ attendance:
markall - Unmarking a student’s attendance:
unmark - Unmarking all students’ attendance:
unmarkall
- Adding a student:
- Known Issues
- FAQ
- Command Summary
Quick Start
Installing CareBook
Ensure you have Java
17or above installed in your computer.
Mac Users: Ensure you have the precise JDK version prescribed here.Download your
carebook.jarfile with the latest release here. Scroll down all the way until you see Assets and click oncarebook.jarto install.Move the
.jarfile to the folder you want to use as the home folder for your CareBook.Open a command terminal,
cdinto the folder you placed your .jar file and typejava -jar carebook.jarand press enter to run CareBook application. Here are detailed information as to how to change directory in Windows and MacOS.
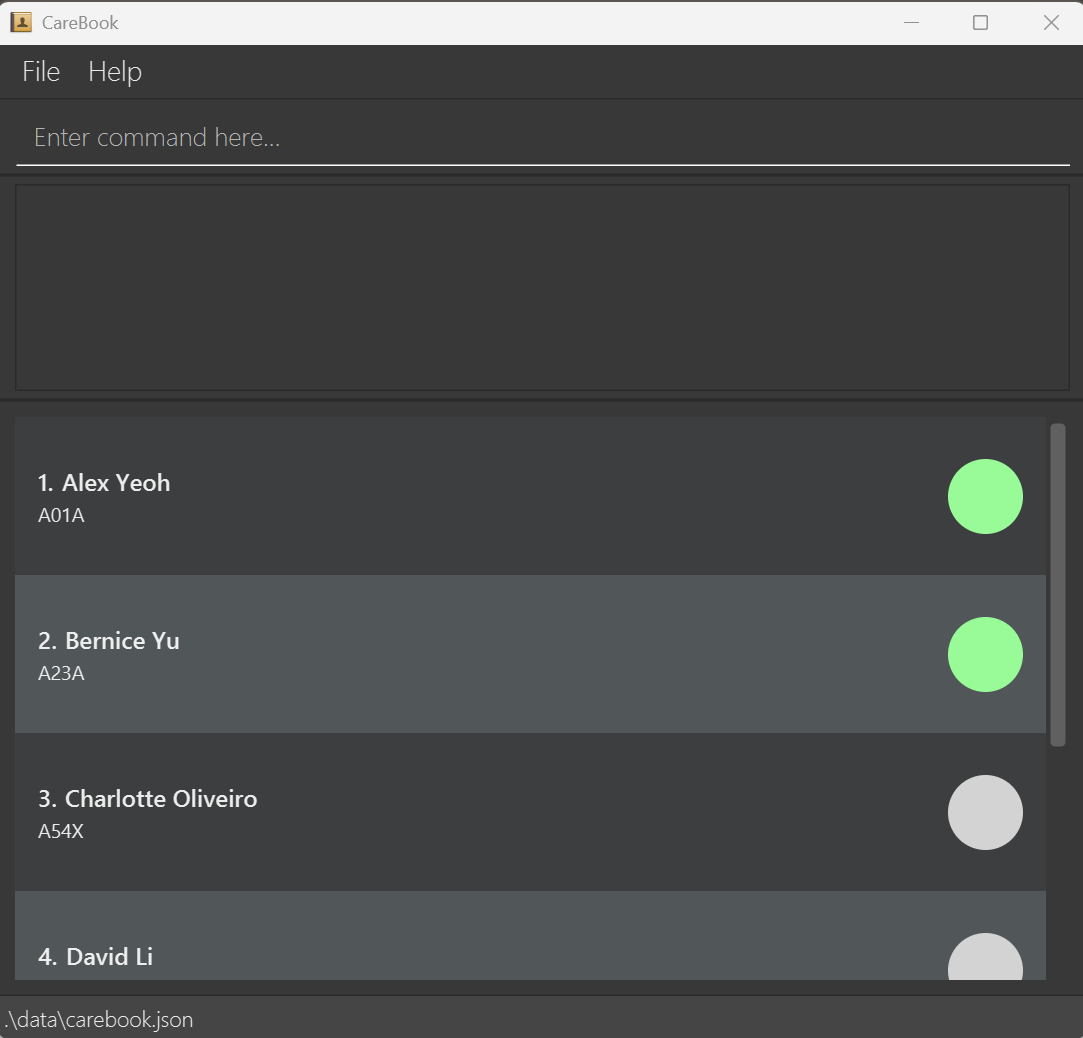
Introducing GUI
After successfully running CareBook application, a GUI similar to below should be displayed.
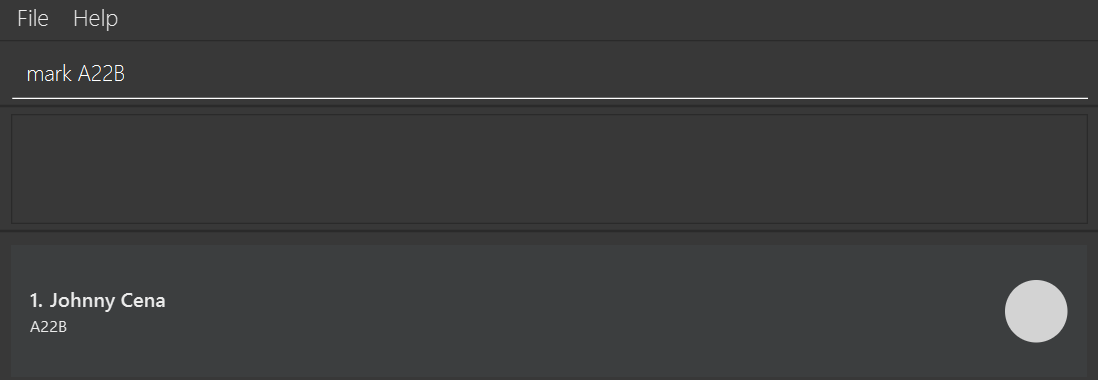
CLI Tutorial
Type Command: Enter your command into the command box, highlighted with a yellow circle in the image below.
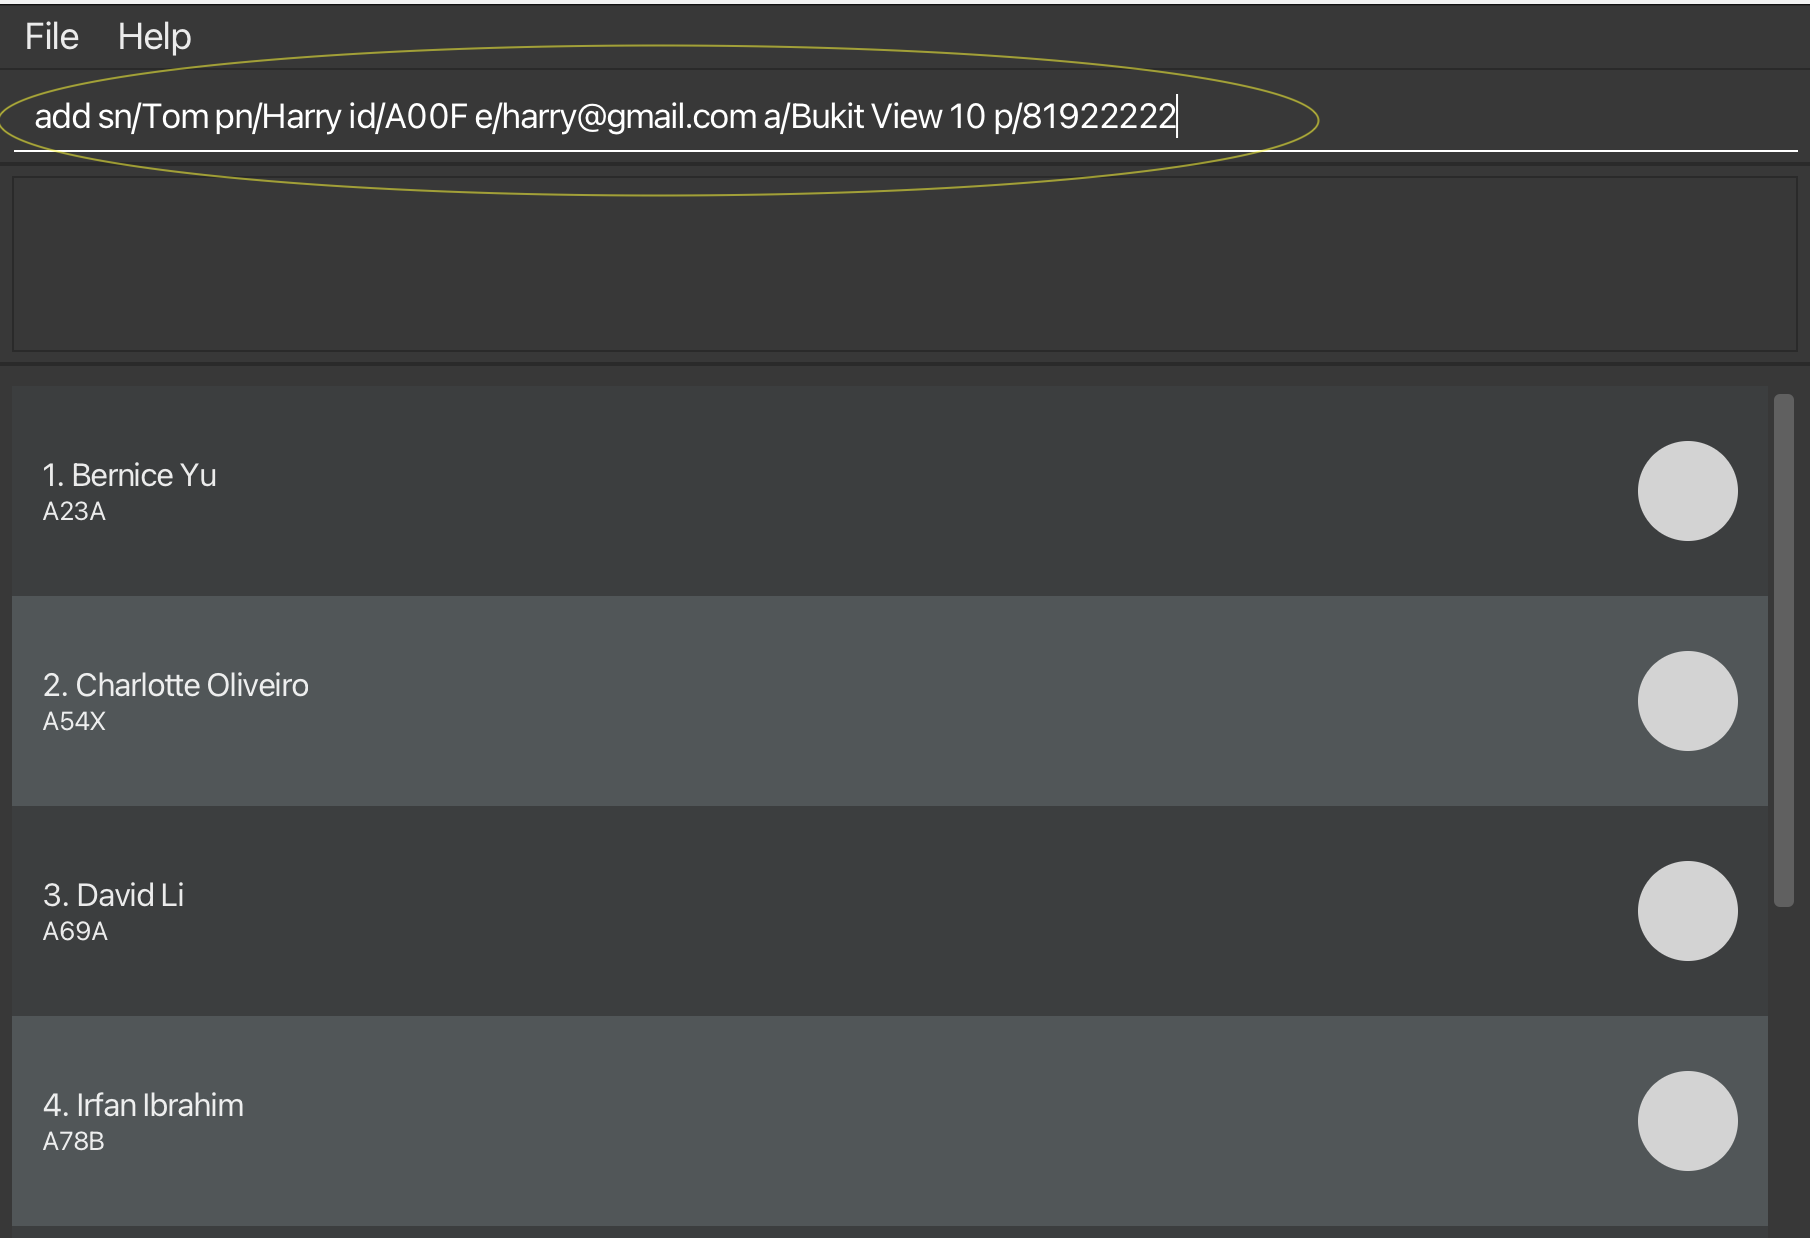
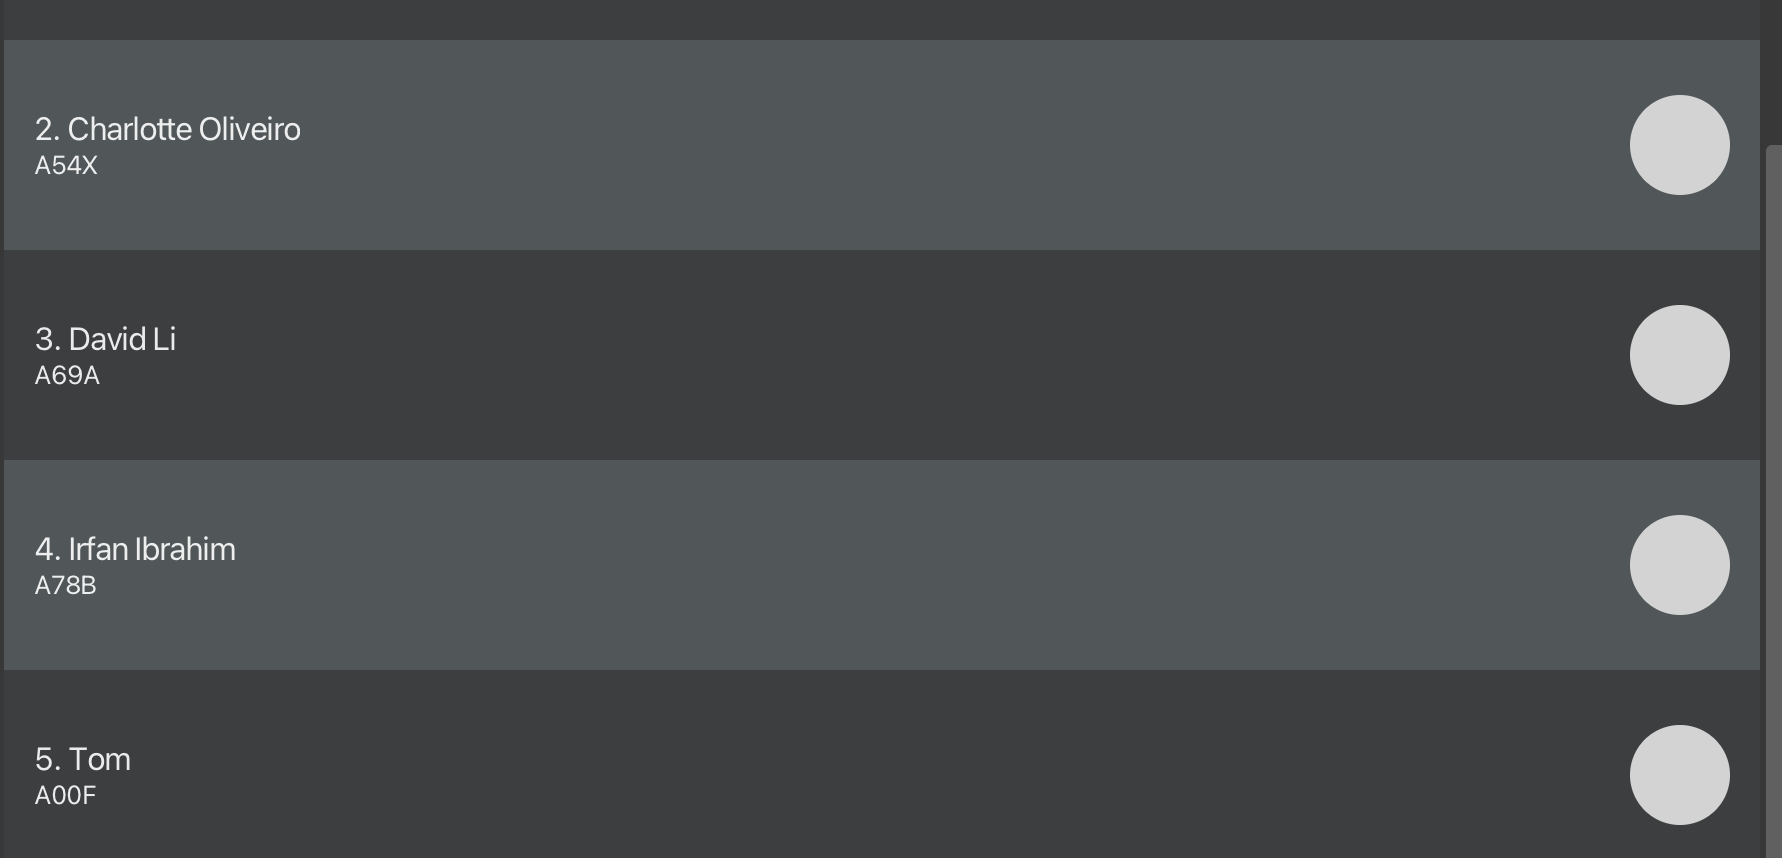
Execute Command: Press
Enterto run your command.View Results: After executing the command, you should see the student you just added as well as sample data in the image below.
Try These Example Commands
help: Opens the help window.delete A00F: Deletes the student you just added in step 1 of type command.markall: Marks all the students (including the sample data) as present.
For more details, see the features section.
Features
StudentId used in all features is case-insensitive (e.g. "a10a" will match "A10A"). Both Phone and Email refer to the parent's.
Adding a student
You can add a student to CareBook.
add <sn/StudentName> <id/StudentId> <pn/ParentName> <p/Phone> <e/Email> <a/Address>- Parameters can be added in any order, but all are compulsory.
- For
StudentNameandParentName, instead of "S/O" and "D/O" please use SO or DO. Nameshould not have @- No restrictions to Address.
StudentIdmust be uniqueStudentIdis case-insensitiveStudentIdshould be 4 characters beginning with A followed by 2 digits and ending with an alphabet.Phoneis restricted to Singapore numbers so they must be exactly 8 digits and begin with 6, 8 or 9.Emailshould have an @ domain.
add sn/Tom Hank id/A10A pn/Thomas Hank p/98122012 e/thomashank@hotmail.com a/Bukit View 9add pn/John Cena p/91029322 e/janeCena@hotmail.com a/Canberra Drive 9 sn/Jane Cena id/A99Z
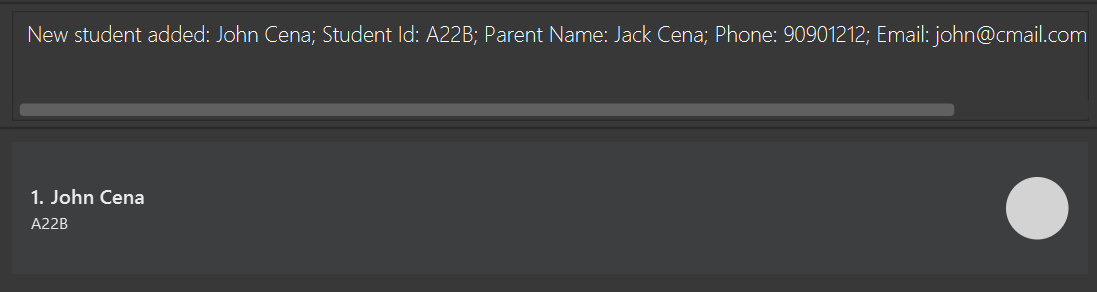
Input:

Expected Output:
Clearing CareBook
You can clear all student records in CareBook.
clearInput:
![]()
Expected Output:
![]()
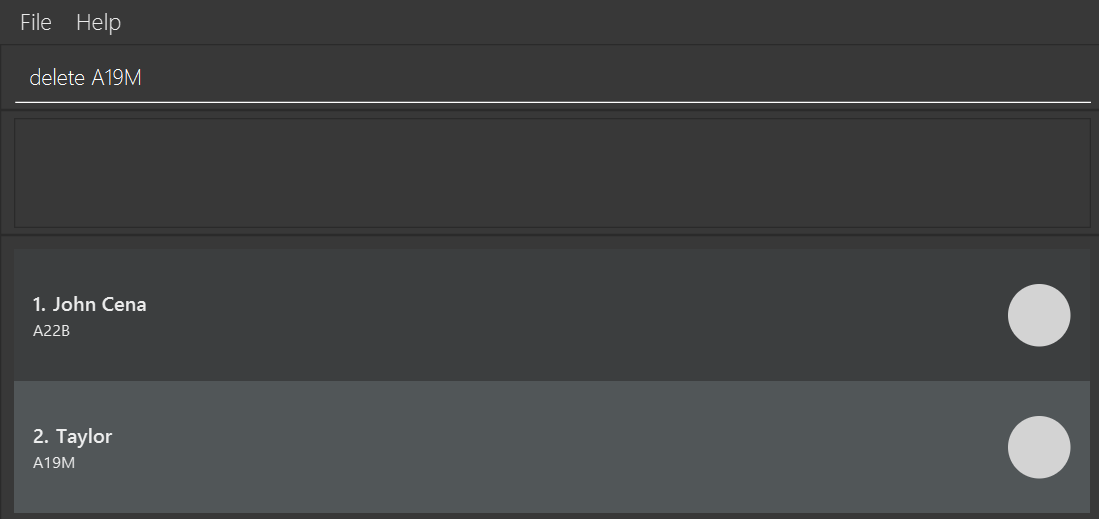
Deleting a student
You can delete a student from CareBook.
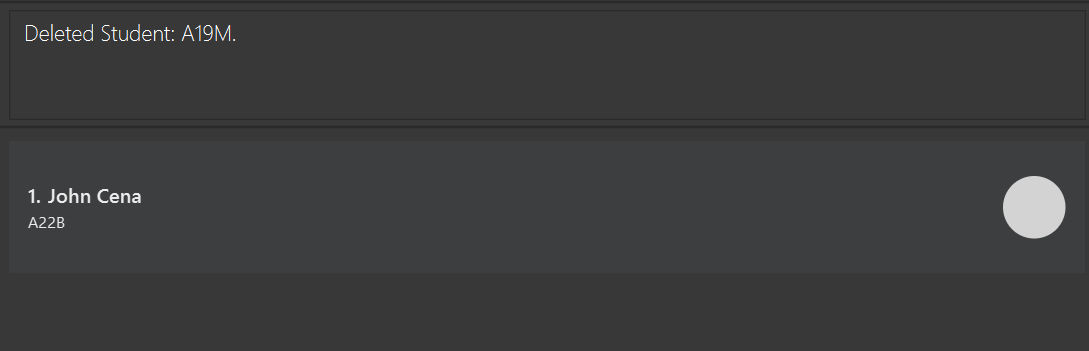
delete <StudentId>- Student ID should be one that already exists in CareBook.
delete A10Adelete A09B
Input:
Expected Output:
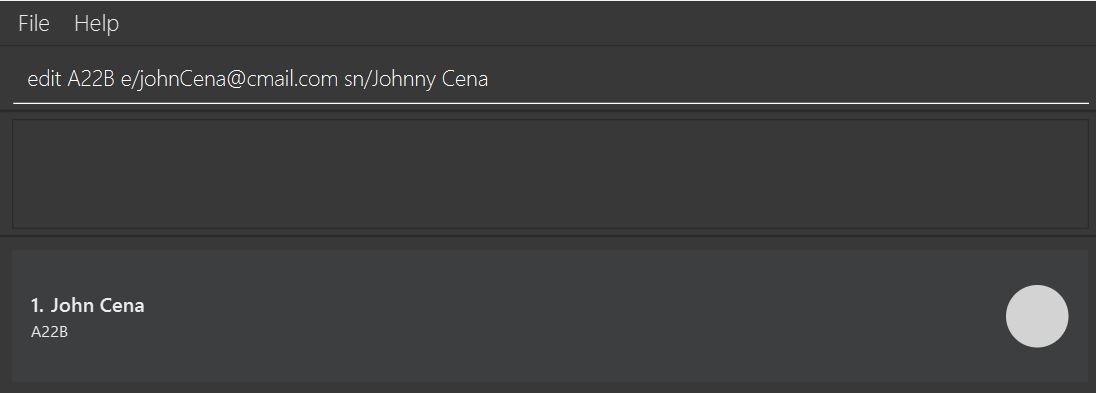
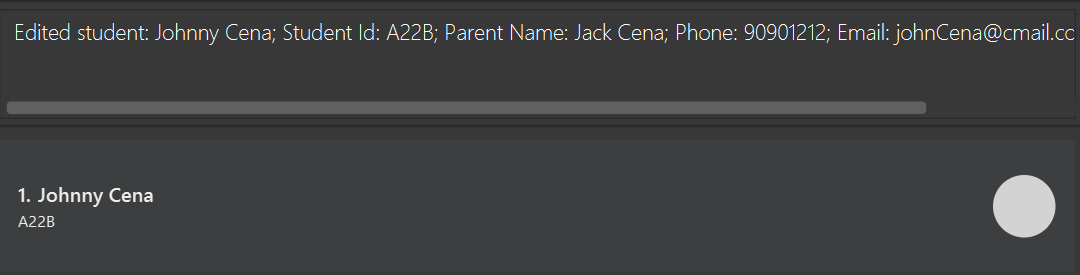
Editing a student
You can edit a student's details in CareBook.
edit <StudentId> <sn/StudentName> <id/StudentId> <pn/ParentName> <p/Phone> <e/Email> <a/Address>- Parameters can be edited in any order.
- For
StudentNameandParentName, instead of "S/O" and "D/O" please use SO or DO. Nameshould not have @- There are no restrictions to Address.
StudentIdmust be uniqueStudentIdis case-insensitiveStudentIdshould be 4 characters beginning with A followed by 2 digits and ending with an alphabet.- Edited
StudentIdshould be a newStudentIdthat has not been assigned to any students. Phoneis restricted to Singapore numbers so they must be exactly 8 digits and begin with 6, 8 or 9.Emailshould have an @ domain.- At least one field is required in addition to providing the student ID of the student you want to edit.
edit A10A sn/Tom Hank p/98122012 e/thomashank@hotmail.com a/Bukit View 9edit A99Z p/91029322 e/johnnyCena@gmail.comedit A99Z id/A88V
Input:
Expected Output:
Exiting the program
You can exit the program.
exit
Exporting attendance summary
You can export an attendance summary.
export <FileName>- File name should only consist of alphanumeric characters and underscores.
- Special characters including but not limited to * . / ‘ are invalid.
FileNameshould not exceed 100 characters.
export attendance_sheetexport student_records
Input:

Expected Output:

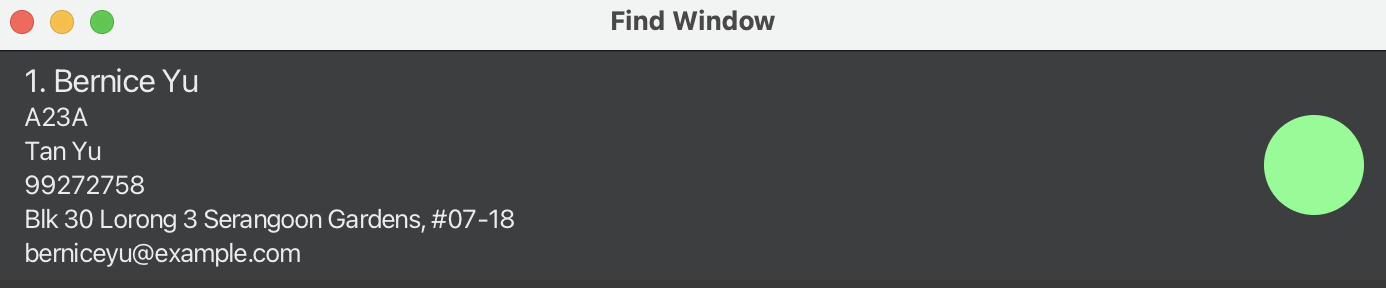
Finding a student’s contact
You can find a specific student with matching Student ID.
find <StudentId>- Student ID must be one that already exists in CareBook.
find A03Afind A99Z
Input:

Expected Output:
Viewing help
you can open a help window with a link to CareBook user guide website.
helpInput:

Expected Output:
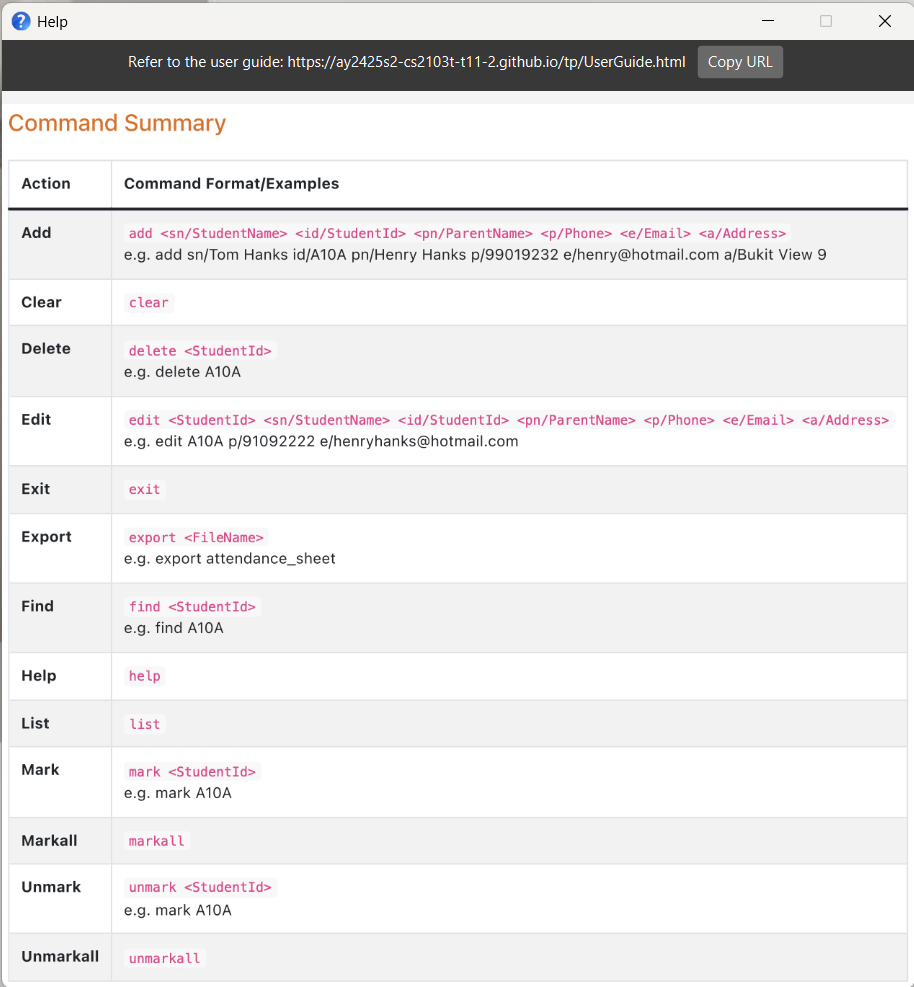
A command summary will also be displayed below the guide link.
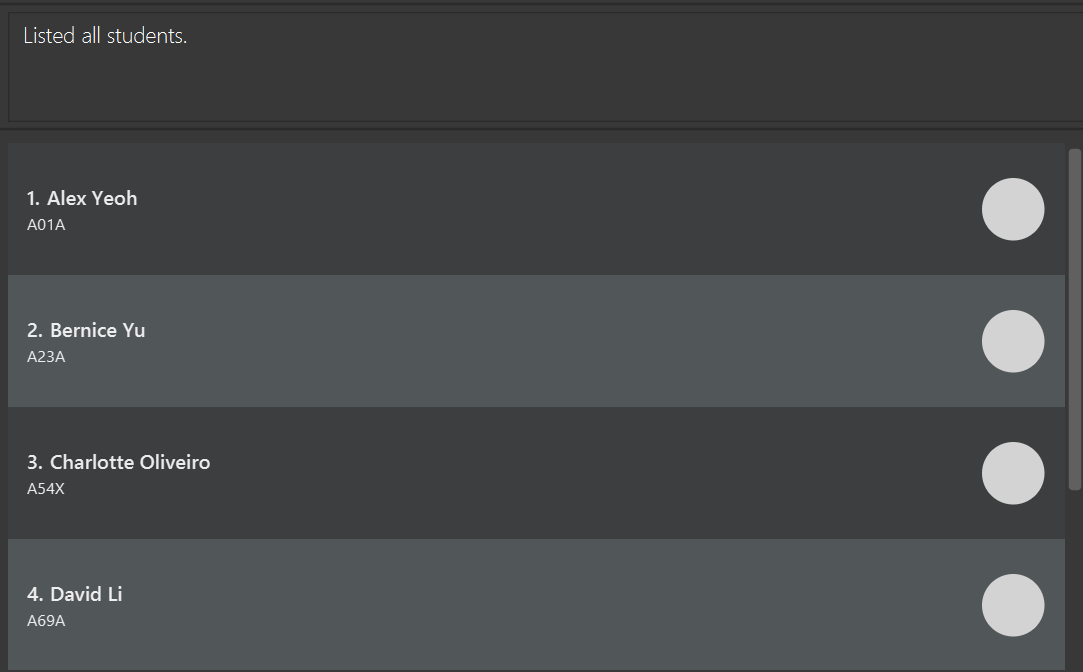
Listing all students
You can list all students in CareBook.
listInput:

Expected Output:
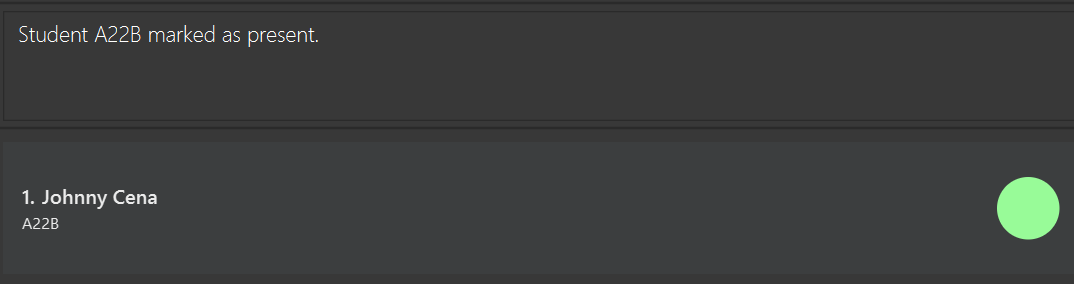
Marking a student’s attendance
You can mark a student in CareBook as present.
mark <StudentId>- Student ID must be one that already exists in CareBook.
mark A10Amark A99Z
Input:
Expected Output:
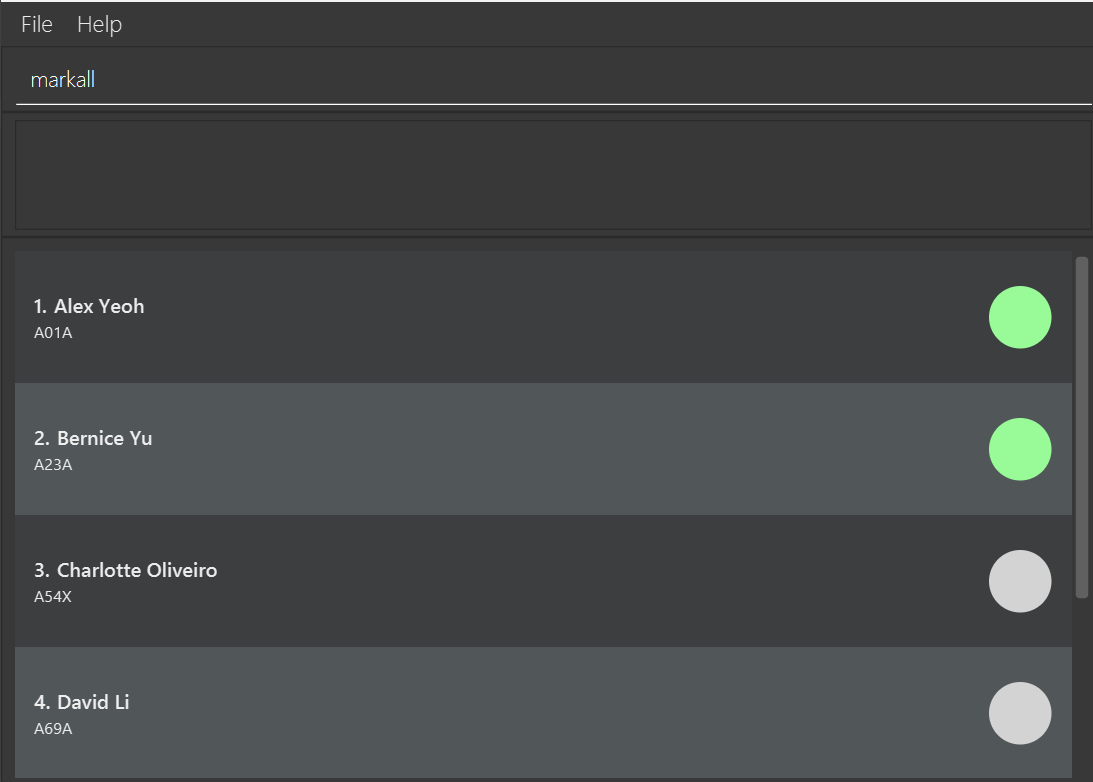
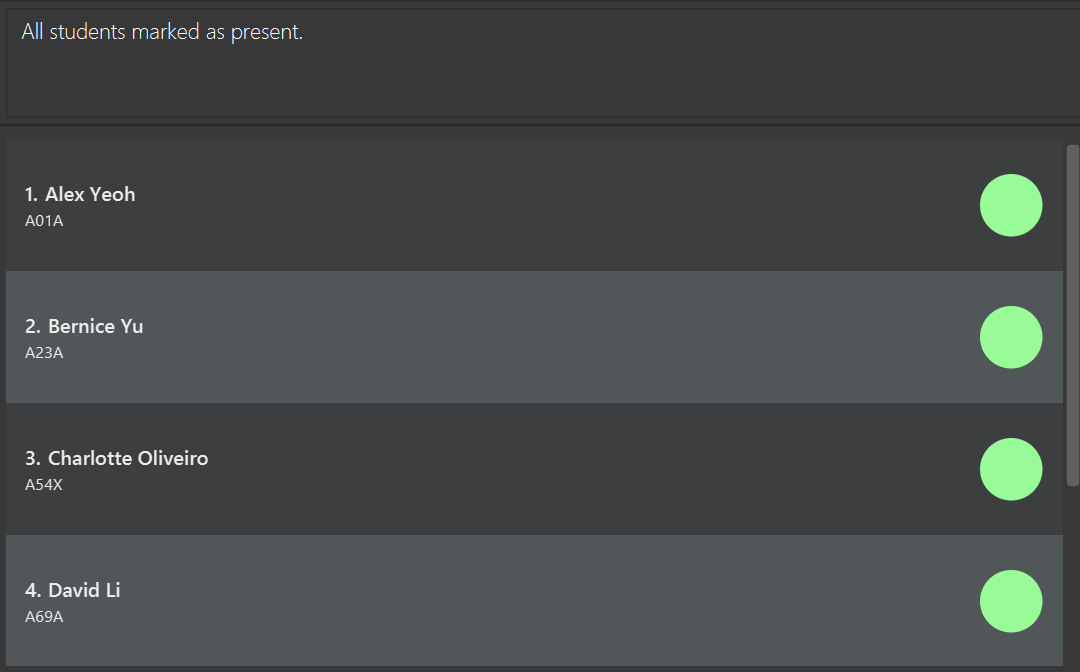
Marking all students’ attendance
You can mark all students in CareBook as present.
markall- The command only works if there is at least one recorded student in CareBook.
- Running the command when all students are already marked will still return a success message. This is expected behaviour and not an error.
Input:
Expected Output:
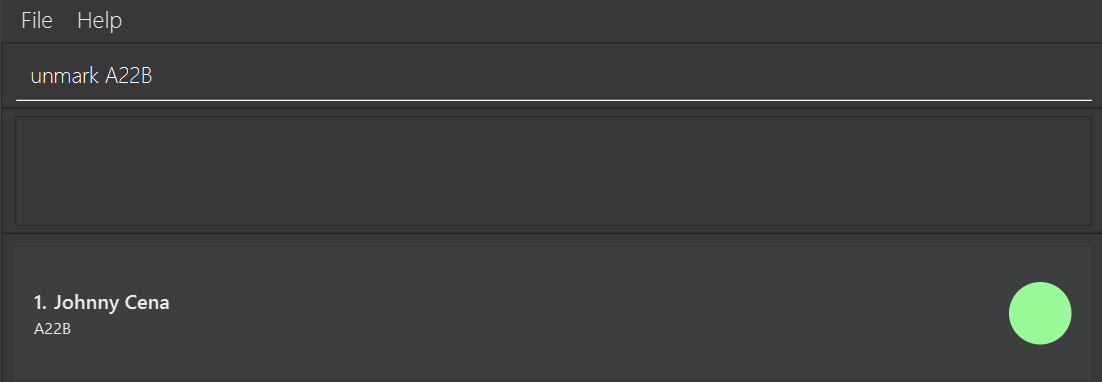
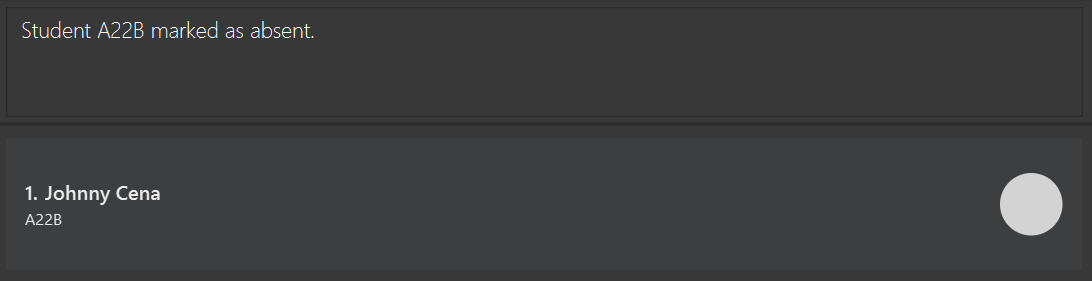
Unmarking a student’s attendance
You can mark a student in CareBook as absent.
unmark <StudentId>- Student ID must be one that already exists in CareBook.
unmark A10Aunmark A99Z
Input:
Expected Output:
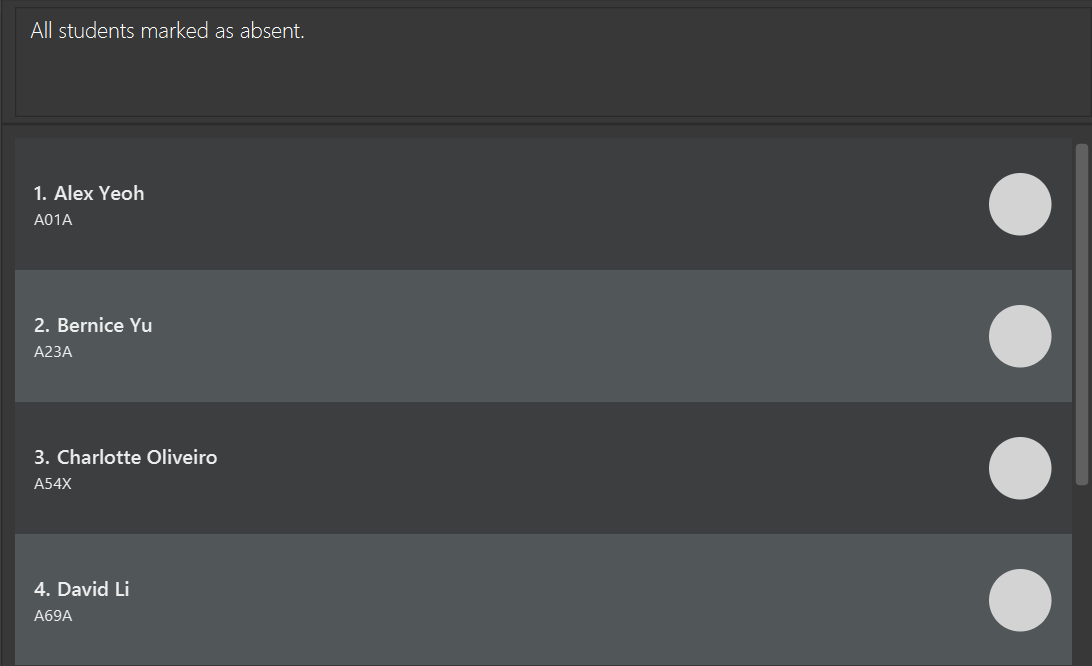
Unmarking all students’ attendance
You can mark all students in CareBook as absent.
unmarkall- The command only works if there is at least one recorded student in CareBook.
- Running the command when all students are already unmarked will still return a success message. This is expected behaviour and not an error.
Input:
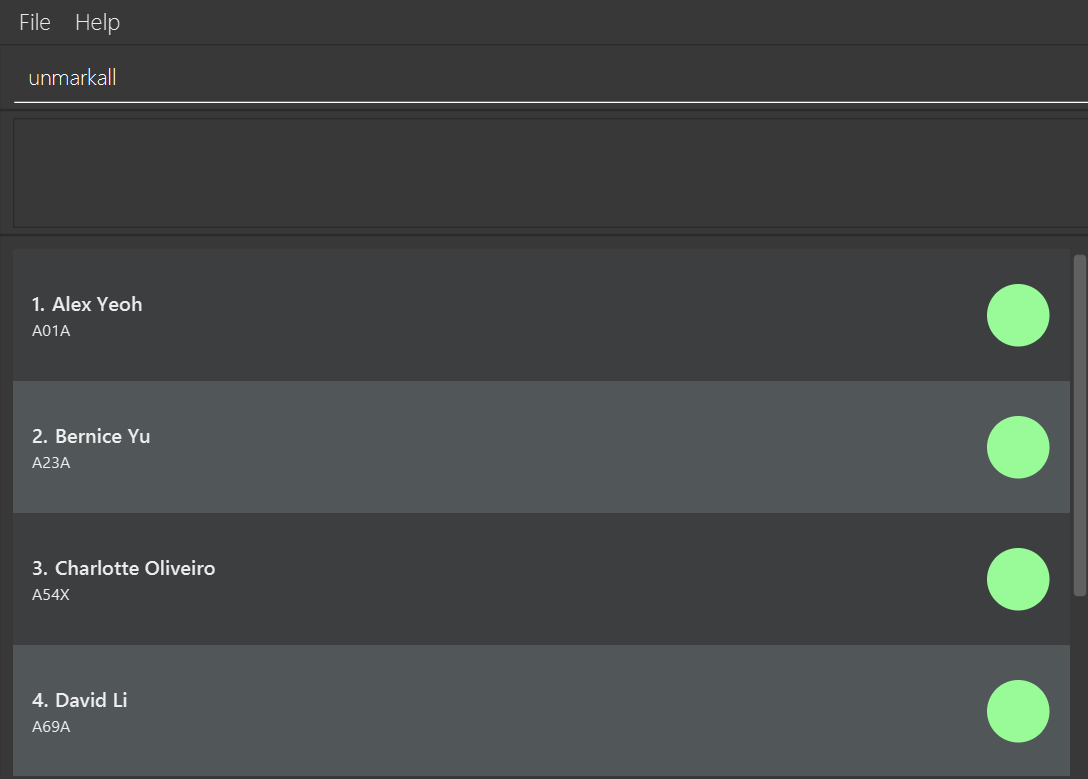
Expected Output:
Known Issues
- Find window cannot be resized. However, since it only displays 1 student, you will still be able to view all details needed.
- When help window is minimized and you run
helpagain, the original window remains minimized. Simply restore the minimized window to view it again.
FAQ
Q: Is CareBook and Java 17 free to download?
A: Yes, they are both free to download!
Q: Do I need an internet connection to use CareBook?
A: No, CareBook works fully offline. All data is stored locally on your device.
Q: Is my data automatically saved?
A: Yes, CareBook automatically saves all changes after each command. No need to manually save!
Q: How do I start using this application if I am a novice user?
A: Execute help command to check the commands available. For more information about the command usage
of each command, see the features section.
Q: Is there a way to recover deleted or cleared student records?
A: No, clear and delete <StudentId> are IRREVERSIBLE.
Command Summary
| Action | Command Format/Examples |
|---|---|
| Add | add <sn/StudentName> <id/StudentId> <pn/ParentName> <p/Phone> <e/Email> <a/Address>e.g. add sn/Tom Hanks id/A10A pn/Henry Hanks p/99019232 e/henry@hotmail.com a/Bukit View 9 |
| Clear | clear |
| Delete | delete <StudentId> e.g. delete A10A |
| Edit | edit <StudentId> <sn/StudentName> <id/StudentId> <pn/ParentName> <p/Phone> <e/Email> <a/Address> e.g. edit A10A p/91092222 e/henryhanks@hotmail.com |
| Exit | exit |
| Export | export <FileName>e.g. export attendance_sheet |
| Find | find <StudentId> e.g. find A10A |
| Help | help |
| List | list |
| Mark | mark <StudentId> e.g. mark A10A |
| Markall | markall |
| Unmark | unmark <StudentId> e.g. mark A10A |
| Unmarkall | unmarkall |